Tuesday, 13 May 2014

Tealy French Tips

Hi guys! Sorry for the log absence, I have found myself yet again lacking inspiration when it comes to nail art and hence not been able to create new posts for y'all. I was just going through some of my older nail art pictures when I came across some nail art that I had forgotten to post. Although it be rather simple I'm sure you will appreciate how lovely it looks. 


Polishes I used:
Duri Rejuvacote
Teal holographic franken
Illamasqua Muse
Seche Vite

I made the teal franken by mixing a green and blue jelly polish (I have forgotten the brand and polish name, sorry guys, but I made this donkeys years ago) and then added some spectraflair to it til I got the holographic effect above. I also free hand painted the french tips, it would be neater with some tape but I am far too impatient to wait for the base polish to COMPLETELY dry. 

Thanks for reading!!

Sunday, 12 January 2014

I am MANI-LOCKED - Sherlock Nail Art

A very happy new year to you all!! A little belated but I have a lovely nail art post for you all to try and make it up. I am posting a mani of how I started my year. With the new season of SHERLOCK!! The final episode is tonight*wipes tear*, so I thought it fitting to do a mani for it. 

Sherlock airs in US on the 19th and Fierce Make-Up and Nails and Gnarly Gnails have created I AM MANILOCKED nail art challenge. Details how to be part of this are at the bottom of the page along with a gallery of the manis people have posted. 

I am a massive Sherlock fan, I have the complete collection of books, watched the movies and of course BBC's Sherlock, which is ah-may-zing!!
I used my collection of Sherlock Holmes books for inspiration for this mani, and specifically chose His Last Bow, seeing as the last episode is called His Last Vow. Rather fitting don't you think??


Here is a picture of the book I used for inspiration as well as the polishes I used for the nail art. 


So that is the inspiration behind my design, lets take a look at what I came up with...


I used the spine of the book and TRIED to replicate it on my accent nail


I used the damask style (kinda) print on the cover of the book on my nails using a stamping plate (details of which one I used will be below). I then added some pink 2mm rhinestones to try and make the nail art flow and match the accent nail which I tried to copy from the spine of the book. I thought I did not too bad a job. 

Polished I used:
Duri Rejuvacote
Barry M Grey
Sally Hansen Wet Cement 
Sally Hansen Raven
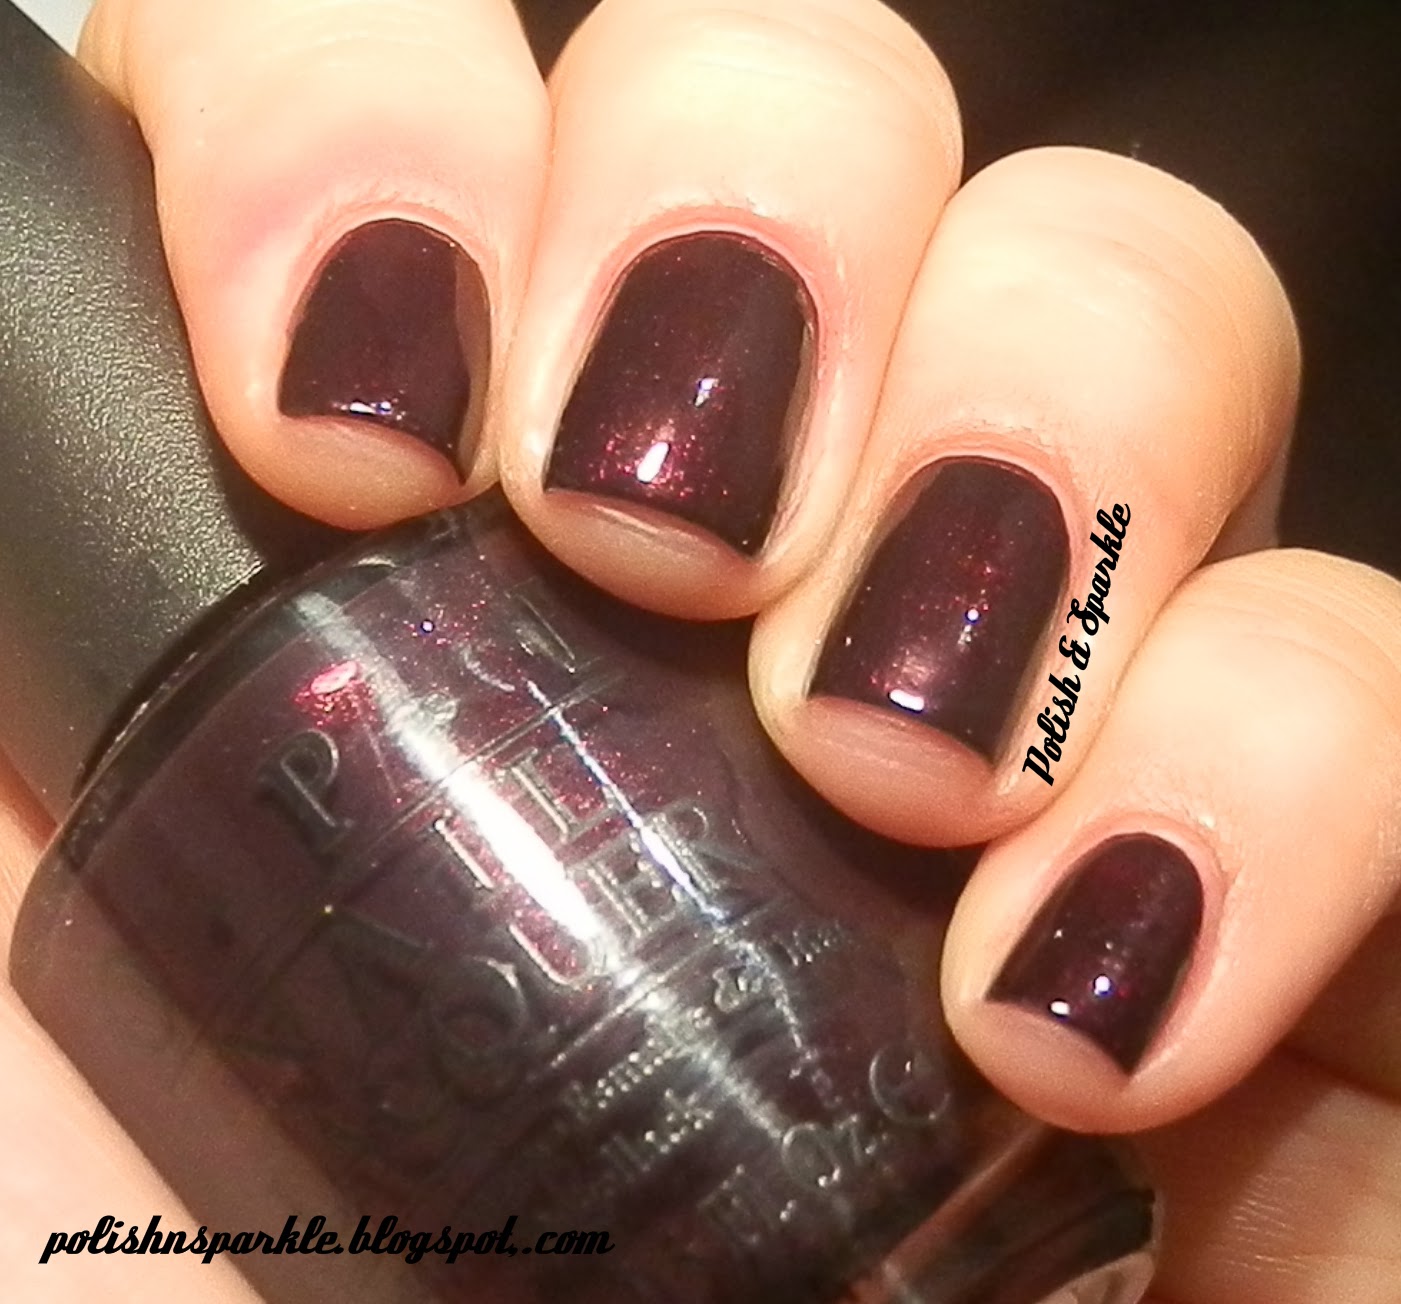
OPI I'm India Mood For Love
Seche Vite

I also used:
Nail Glue
2mm Pink Rhinestones
Red Angel Stamping Plate RA112
Stamper and Scraper
Fine Nail Art Brush

Will you be watching Shelock tonight?? Share your Sherlock Mani if you do one!
#MANILOCKED2014 to share your picture on Instagram and to share it on your blog go to www.tinyurl.com/manilocked2014 I would love to see them!!


Wednesday, 25 December 2013

It's Christmas!! Candy Cane Nail Art

A super duper quick for you all today. I wasn't going to post today as I worked a night shift and and going to one later tonight but seeing as I couldn't sleep I did some very rushed Candy Cane inspired nails. They are very rough and no where near as neat as I would have liked but I did them and I had to post them. 

Lets take a look...


I still think they look nice even though they look a little hastly put on. I did these straight after a 12 and half hour night shift and didn't put on the topcoat right to the edges which is why the edges look especially roughed up. 

Polish I used:
OPI Nail Envy Maintenance
Sally Hansen Lavender Cloud
Nails Inc Mini Holly Blush Vale
Seche Vite

I also used:
Green Nail Art Striper Pen
1cm Long Striper Nail Art Brush


So that my Christmas mani, even though I have to take it off because I have work later tonight. :( 

Sunday, 22 December 2013

Christmas Nails - Holly French Tips

As promised today I have some more Christmas inspired nail art. These actually turned out better than expected. I was really worried I would have to scrap this idea for fear I would not be able to do the leaves but as it turns out they are not so bad; even if I say so myself. 


This mani is pretty straight forward; tape of the nails and paint a french tip. Then add 3 rhinestones to each nail close to the top corner of the nail. rhinestones save so much time and look much prettier than the standard polish and dotting tool. 
The hardest part of the mani was the leaves. I just drew a diamond with curved sides on either side of the rhiestones and then added some details with a dark green Nail Art Striper Pen which I got off eBay a very long time ago. 

Polishes I used:
OPI Nail Envy Maintanance 
Revlon Emerald City
Sally Hansen Lickety-Split Lime
Seche Vite

I also used:
Red 2mm Rhinestones
Dark Green Nail Art Striper Pen
1x Detailing Nail Art Brush

Saturday, 21 December 2013

Christmas Nails - Rhinestone Christmas Tree


I have been meaning to post this mani for a week now but I have been super busy with work and working nights means my timing is always out and also that I am always tired. I actually wore this mani for 2days before I even took pictures hence why you will see some tip wear.
 I have a few more Christmas nail art posts that I want to get out before its Christmas and with only 4 days left I hope I can get them all posted. 

I decided on doing a ChristmadsTree accent using rhinestones and thought I would try one of my untried polish on the rest of the nails. Nubar Reclaim, what can I say?! Isn't it just beautiful?? It is a green linear holo polish and my pictures do it no justice at all. 


I used a few different rhinestones on this mani, the star shaped one is from a set I brought from Poundland and I am pretty sure it is still available, the rest are 2mm rhinestones which are widely available on eBay. I'm not sure if you can tell in the pictures but I also used gold caviar/microbeads in and between the green rhinestones to look like little baubles. 

This mani would've lasted a long time, and I didn't even use a topcoat, just let the polishes air dry. I would've kept them on longer if I didn't have to remove it for work. 

Polishes I used:
OPI Nail Envy Maintance
Nubar Reclaim
Milani 3D

 I also used:
Nail Glue
2mm Rhinestones in Green and Gold
Gold Caviar/Microbeads 
Star Rhinestone 


Thursday, 12 December 2013

Christmas Nails - Santa and his Little Helpers

It's Decemeber and Christmas is almost here. I don't celebrate Christmas but I couldn't help do some Chistmas inspired nail art. Over the past few year I have always seen other bloggers do christmas inspired nails and have always wanted to do some myself. So this year you will be having more than one Christmas inspired mani. I hope they inspire you and maybe you will chose to do one of these designs for Christmas yourselves for those who celebrate it. 

So for my first Xmas post we have the nail art which I was looking forward to doing the most. Santa and his Little Helpers. I am so pleased with how these turned out. Exactly how I imagined them! 

Lets take a look...


I used black striping tape for the belts on the elf costumes because I was a wuss and didn't wanna get a wobbly thin line and ruin it. Haha! 

Polishes I used:
Duri Rejuvacote 
OPI Jade is the New Black
Barry M Blood Orange
Sally Hansen Lightening
Sally Hansen Raven
Barry M Gold Foil
H&M Matte Topcoat

I also used:
2x fine nail art brush
Dotting tool
Striping tape

The santa costume is pretty easy, a red base with a white line down the middle. Then a black line across for the belt and then yellow square for the buckle. And your done. 
The elf costumes, i started with a half moon green base. Then painted on the red spikes for the collar. Then i used the dotting tool to put on the yellow buttons. Added the black striping tape for the belt and used gold polish for the buckle. And your done. 

I am super proud of these. They are exactly how I imagined and to be honest they are my favourites so far! Granted I have only done these so far but still!! 

Hope you like them and thanks for reading! 


Thursday, 5 December 2013

OPI Black Cherry Chutney

The Great British weather is in full flow this winter. Temperatures have dropped, wind is blowing, I am thankful it hasn't rained/snowed much yet though I fear it won't be long until we lose that luxury as well. 
When such weather is upon us, the bright/neon colours are out, and the darker more muted colours are in. 
I have been feeling vampy colours calling to me this season.
So off I popped to my Helmer and polish stand to find some vampy colours to chose from and realised I don't have many vampy colors at all. Of course now I will be on a "buy all the vampy polishes" shopping spree which no doubt will hurt my pocket but boost my happiness. Haha!

But for today's post I will show you the colour I picked for the vampy mood the weather has brought. I picked OPI Black Cherry Chutney. It is my of my most favourite polishes in my stash, and one I have had a long time.  It is such an understated polish, It is a dark burgundy sometimes even looks close to black in the shade, yet in the sun it sparkles some red.


In the pictures it is directly under hthe light coming from the lamp so you can see the reddish sparkles.


Polishes I used:
Essie 3in1 Base
OPI Black Cherry Chutney

I didnt't use a top coat with this, I just let it air dry. Its glossy enough and dries quick enough. :)

Thanks for reading!!